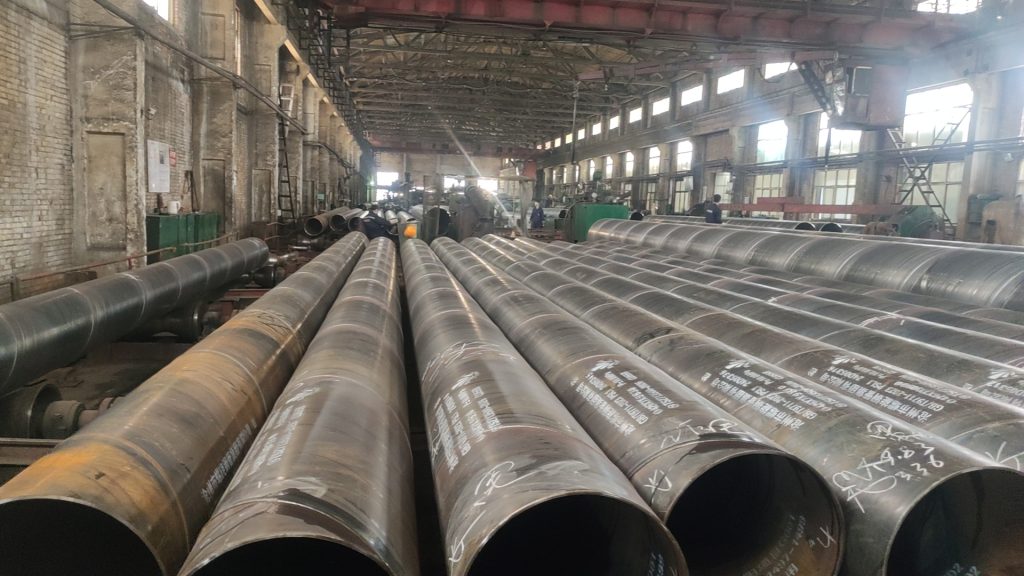
1: Appearance inspection: Appearance inspection is a simple and widely used inspection method. It is an important part of finished product inspection. It is mainly used to discover defects on the weld surface, dimensional deviations and raw material splicing. It is generally passed Observe with the naked eye and use tools such as standard templates, gauges, and magnifying glasses for inspection. If there are defects on the surface of the weld, there may be defects inside the weld. The joint of the raw material should not be greater than 1100mm from the pipe end.
2: Inspection by physical methods: Physical inspection methods are methods that use some physical phenomena to measure or inspect. To inspect the internal defects of raw materials or workpieces, after the spiral steel pipe is formed, the hydraulic pressure test is generally performed first, and then non-destructive testing methods are used. Non-destructive testing includes ultrasonic testing, radiographic testing, penetrant testing, magnetic testing, etc.
Based on the above quality inspection results of spiral steel pipes, spiral steel pipes are divided into three types: qualified products, repaired products and processed products. Qualified products refer to spiral steel pipes whose appearance quality and intrinsic quality meet the relevant standards or delivery acceptance technical conditions; repaired products refer to those whose appearance quality and intrinsic quality do not meet the standards and acceptance conditions, but are allowed to be repaired and can meet the standards and acceptance conditions after repair. Spiral steel pipes that fail to meet the standards after repair are considered scrap products. Scrap products refer to spiral steel pipes whose appearance quality and intrinsic quality are unqualified and are not allowed to be repaired or which still fail to meet the standards and acceptance conditions after repair.

You must be logged in to post a comment.

